

Things you will need:
- Bamboo sticks placemat
- Rope
- Hot glue gun
- Scissor
- Pencil
- Card board
- Any type of good quality paper
- Favorite photo :)
I snipped off the three knots at the end of the placemat and the bamboo sticks just fell off the strings easily.


I used this type of rope.

I cut 4 pieces of rope. Each were about 55 inches long. Place the rope under the sticks like this.

And make a knot.

Continue to wrap the rope in one direction about 5 or 6 times and then cross in the back of your frame (where the knot is) and tie. Clip off extra rope. Make sure ALL of your knots are on one side of the frame.

This is what it should look like (an X). Try not to wrap the rope too tight, the bamboo sticks will bunch together and will not work well. It should rest flat.


For the back of my frame, I used a cereal box for my card board backing.


Using a pencil, trace the INSIDE of your frame opening.


This is our frame or photo size tracing.

Cut out the cardboard frame but leave approximately 1 inch on each side (left and right side-example illustration shown in red below). This part will be glued onto the bamboo sticks. The top and bottom of the cardboard will have a tiny space away from the frame itself.

I used sturdy resume paper from hubby's office to wrap the cardboard. The excess pieces are showing now but the bamboo sticks will hide them well.


The blue lines below, is to show you where I placed my glue for the cardboard backing. I used a hot glue gun but any good glue will work.

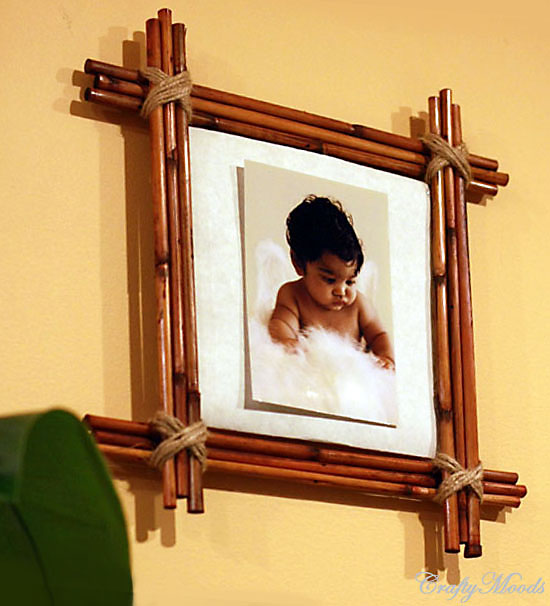
The blue arrows below, indicates how I have all of my bamboo sticks unevenly placed. I pushed the middle sticks inwards to create a more natural zig-zagged look. I attached my photo using double sided sticky tape. But you can use regular scotch tape placed on the back of the photo. The photo I used is a 5x7 inch photo.


This took me about 30 minutes to do, so easy and so fun..To hang on the wall, I used a pin nail. You can use that or use extra rope to make a loop onto the top of the frame and hang.

Enjoy!
Love it :-) The plant next to it is also nice BTW
ReplyDeleteVery tropical!! You make it look so easy.
ReplyDeleteThanks Natalie and Gina! -It is very easy to do :D
ReplyDeleteGreat idea!
ReplyDeleteAwesome! I tried using small sticks in my scrapbook layout and the result turned out just like what you created. :)
ReplyDelete